Hyper-V Is Underrated

warning
This article is one among many salvaged from my previous blog! It is not on par with my demands of quality but I didn’t feel like abandoning it.
Introduction
Virtualization is the process of chopping up of physical hardware of a computer and assigning it to a separate operating system. In layman’s terms, it is just a computer inside a computer, just like Matrix.
")
There are software written to achieve this, and seeing the potential use cases, microprocessor companies like Intel and AMD started supporting it on the hardware level to boost the performance of the Virtual Machines(VMs). One might wonder what might I use this for? One good example is this website which is running in the cloud whose CPU is containing 32 cores of processing shared to potentially 32 customers possessing 1 core each! This saves a lot of hardware deployment and power consumption. Another use case for prosumers like us is to have a testing environment that can be broken, purged, or reverted back as we please. We can’t afford to do such things on our daily driver systems.
NOTE:
This website used to run on the abovementioned VPS, but currently I have switched to Hugo, a Static Site generator that doesn’t need much of a VPS. Currently the website is hosted in Cloudflare Pages and this website might still be in a VPS. To know for sure, check out their Technical Blog and Fineprints.
Hypervisors
In the past, I used VirtualBox as my Virtualisation tool. However, it is unoptimized for a long time and runs all the VMs very slow. Then I switched to VMware Workstation, which provided the performance as expected but I wasn’t satisfied. I stuck to VMware for a long time(around 8 years now), and then I learnt about Type-1 and Type-2 Virtualization and the respective platforms supporting those.

A hypervisor is a software that is used to Virtualize the operating system. As you can witness from the above diagram, Type 1 must outperform Type 2 since Type- 2 has more layers to access the bare-metal hardware than Type-1. Virtualbox and VMware belong to Type-2. Some of the Type-1 Virtualization platforms are VMware ESXi(again! same company), XCP-ng, Citrix Hypervisor(commercial XCP-ng?) and Proxmox. Or so I thought. I have used both Proxmox and XCP-ng as they can be deployed on an old laptop that is collecting dust on the shelf. Their performance and ease of use are incredible, however, not everyone has the resources or time to set them up and learn all the quirks and technicalities of such battle-tested industry-standard software. Many would like to get into Virtualization with as few steps as possible. So, VMware Workstation sounds like the best choice for those candidates. Or so I thought.
Test Driving Windows Hyper-V
I had my mind on Windows Hyper-V for a long time but never appreciated it much, of the fact that Windows is slow compared to Linux operating systems and I already was comfortable with QEMU which happened to be an open-source Virtualization tool that works wonders in terms of performance.

However, I thought trying to be an objective person, I should at least give Hyper-V a try since I have a Windows machine I use to play games, I might as well use it to experiment. To my surprise, Hyper-V is a Type-1 Hypervisor, i.e, even though it is used via Windows operating system, it provides the VMs access to hardware directly skipping the layers of Type-2 Hypervisors. And guess what, the performance speaks for itself. I second the option of Hyper-V in Windows if you happen to have any operating systems from the below list.
Screenshots from here and here.
Unfortunately, Hyper-V is not available in Windows 10 Home which most folks use, in that case, you can still use QEMU if you are up to learning some quirks of it.

The Virtual Switch Manager and Virtual SAN manager are simply wonderful, you can set up a pen-testing environment private from all the networking available to your host device. Here are a few VMs I set up to test new software packages and also to learn some system administration concepts by testing them out on these VMs.

You can also set up a Windows VM in this hypervisor, and do some complex functions like PCIe passthrough, which essentially means, you can split a GPU into two virtual GPUs and share it with the host and guest operating system. If you plan to play games and don’t want to share your PC time, you just need another cheap Chromebook to access the Guest VM for 2 people to play games on a single PC! Another interesting use case for a Hypervisor that comes for free with your operating system(if you own a license to the abovementioned OSes). Just to show you how simple it is to set up your own VM, here are the steps you will do to get started:
Setting Up Hyper-V
Let us try to get up and running the Ubuntu Desktop22.04 LTS version using Hyper-V.
NOTE
Hyper-V is built into Windows as an optional feature – there is no Hyper-V download.If you are a fond of terminal like me, do the following:
Enable Hyper-V using Powershell by running the below command:
Enable-WindowsOptionalFeature -Online -FeatureName Microsoft-Hyper-V -All
Or follow the steps below:

After all these steps, the Windows power move has to be followed, RESTARTING the PC!!
Acquiring a Linux Operating System Disk Image
Once the PC is restarted, we go to the Official Ubuntu Website and download the ISO file:

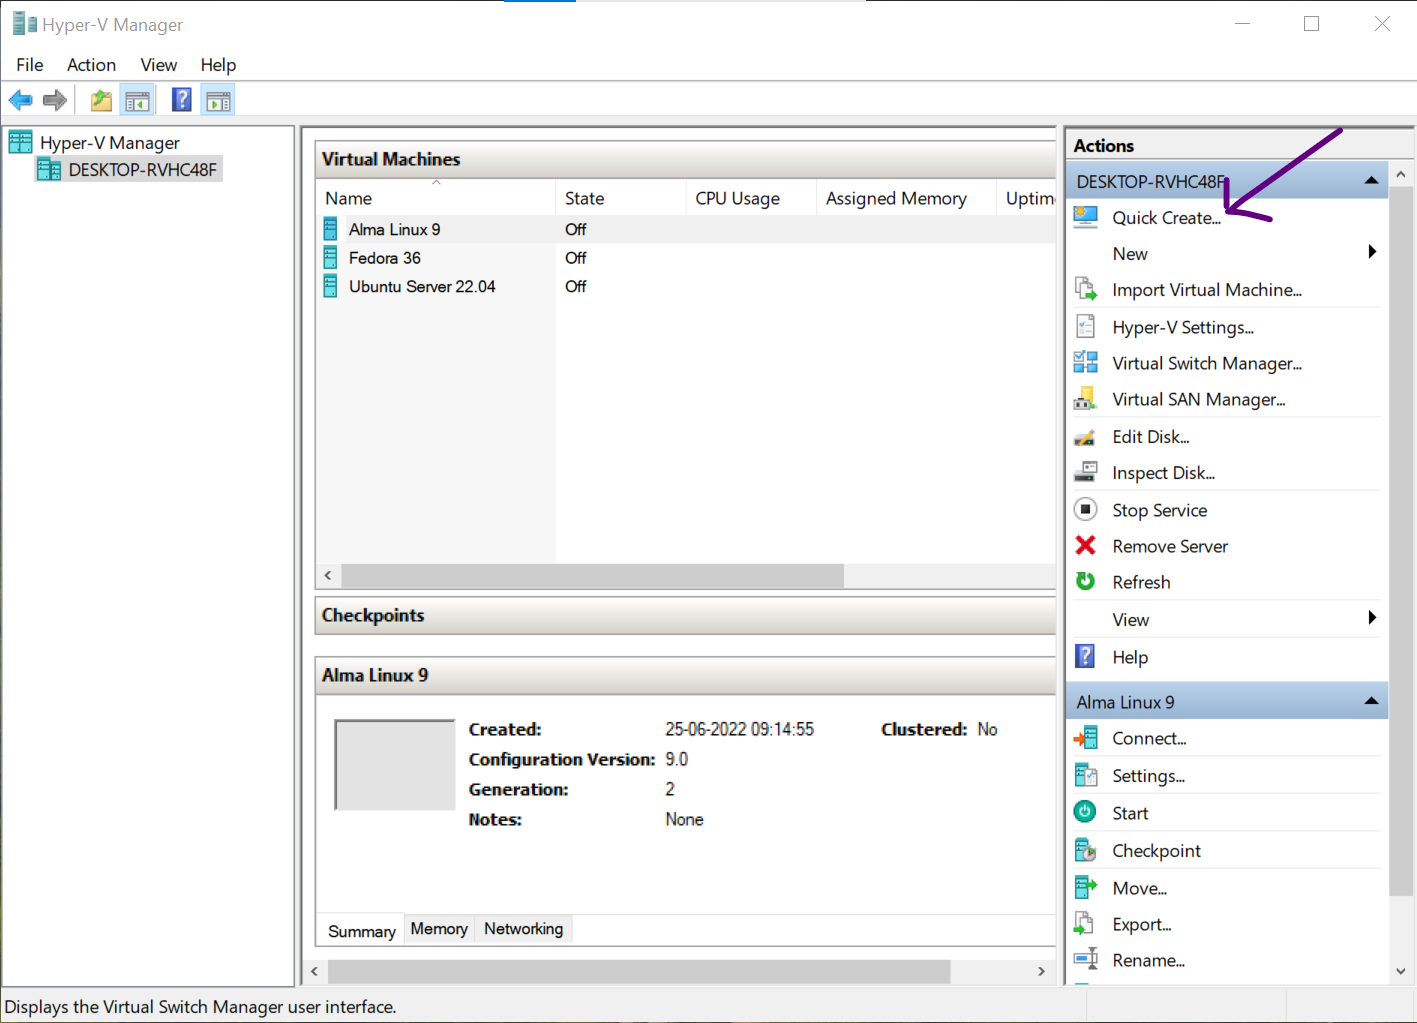
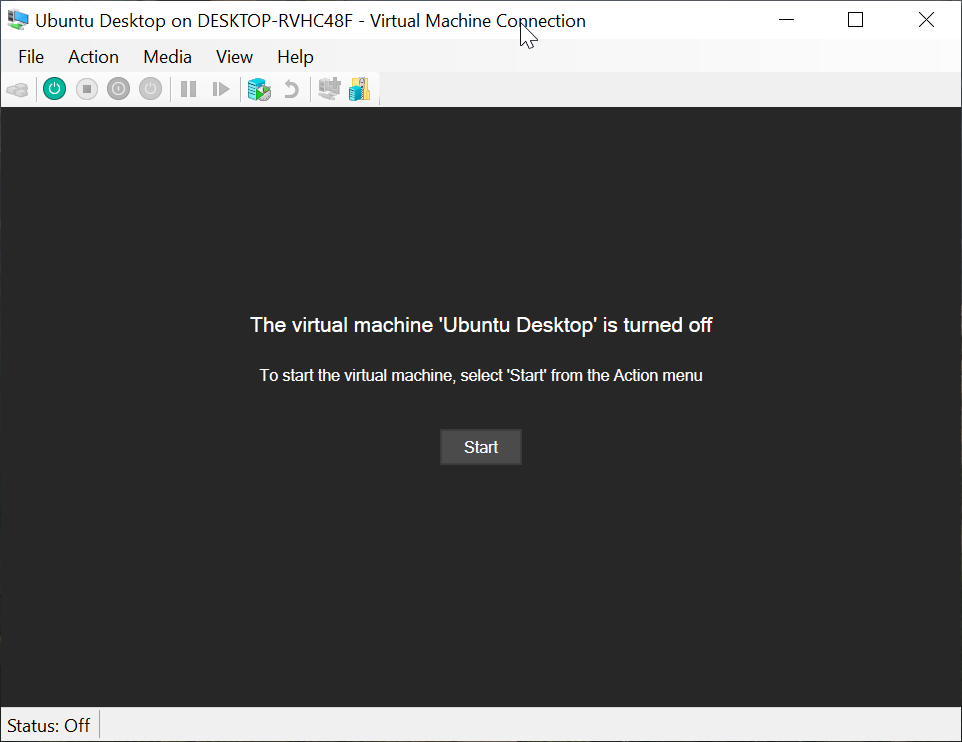
After saving the ISO file in your desired location, search for Hyper V in Windows Search:

Installing Linux in Hyper-V
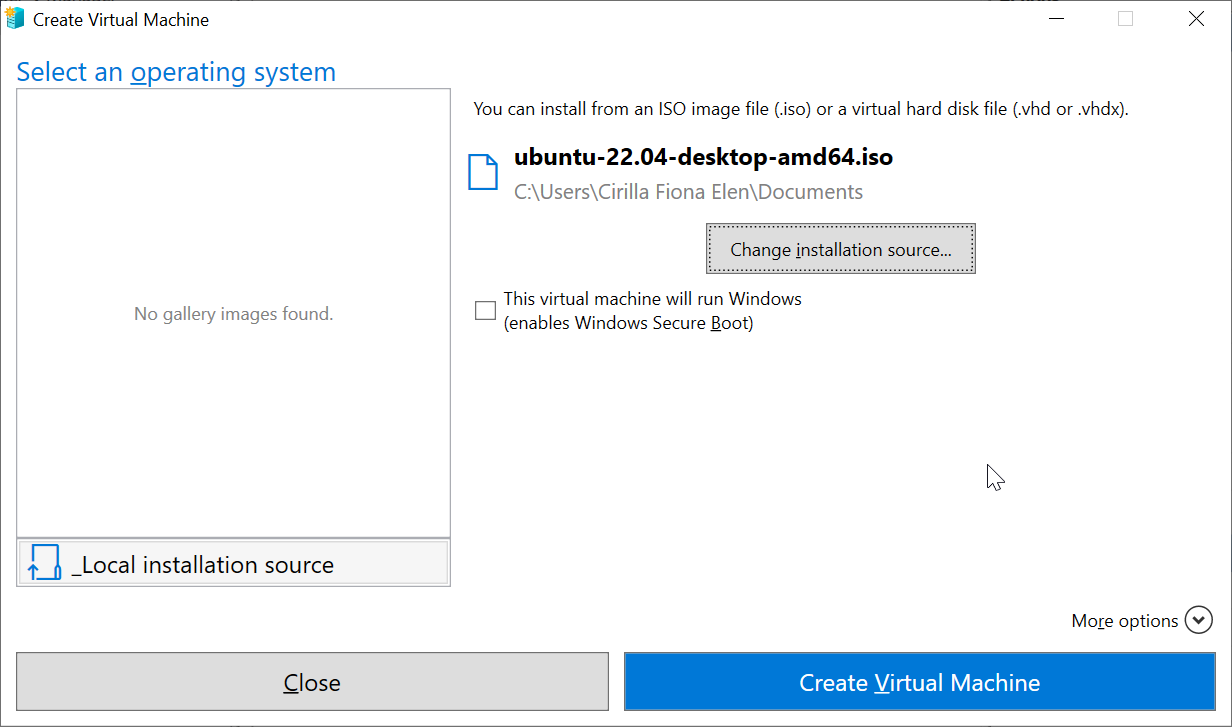
You will be displayed the usual interface of Hyper-V. Now, click on Quick Create ... as shown in the image below:
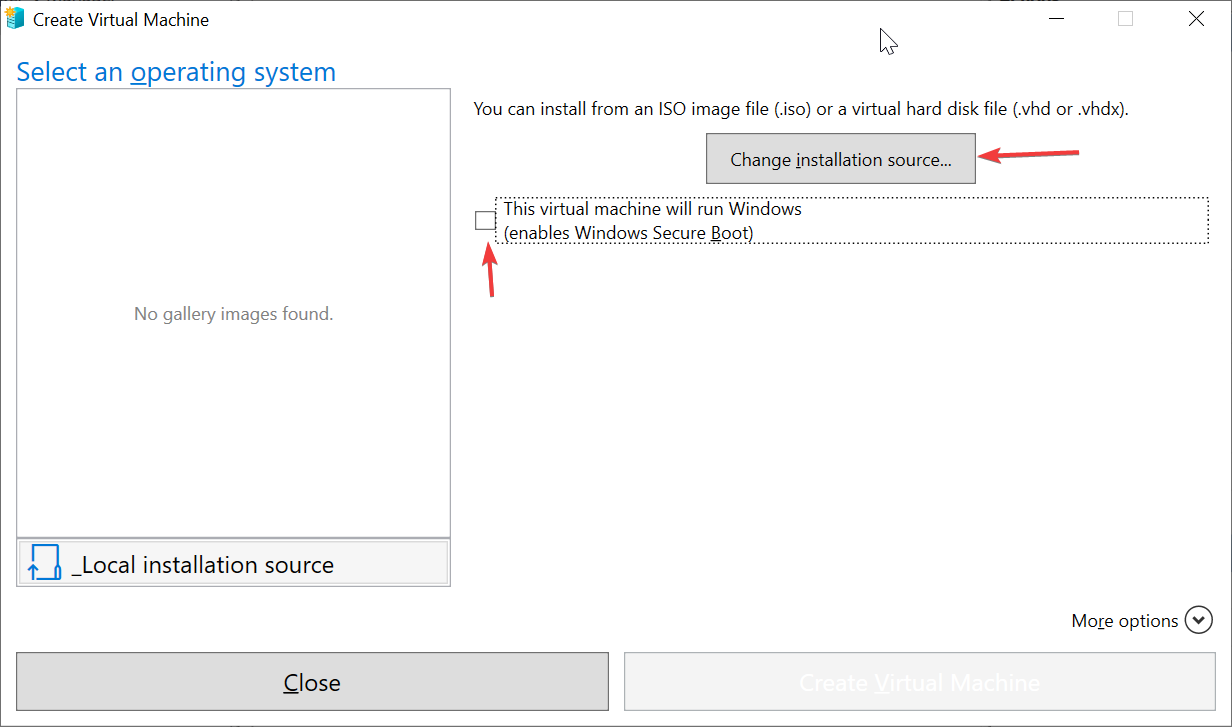
Untick the box indicated below, and click on Change Installation source ... button.
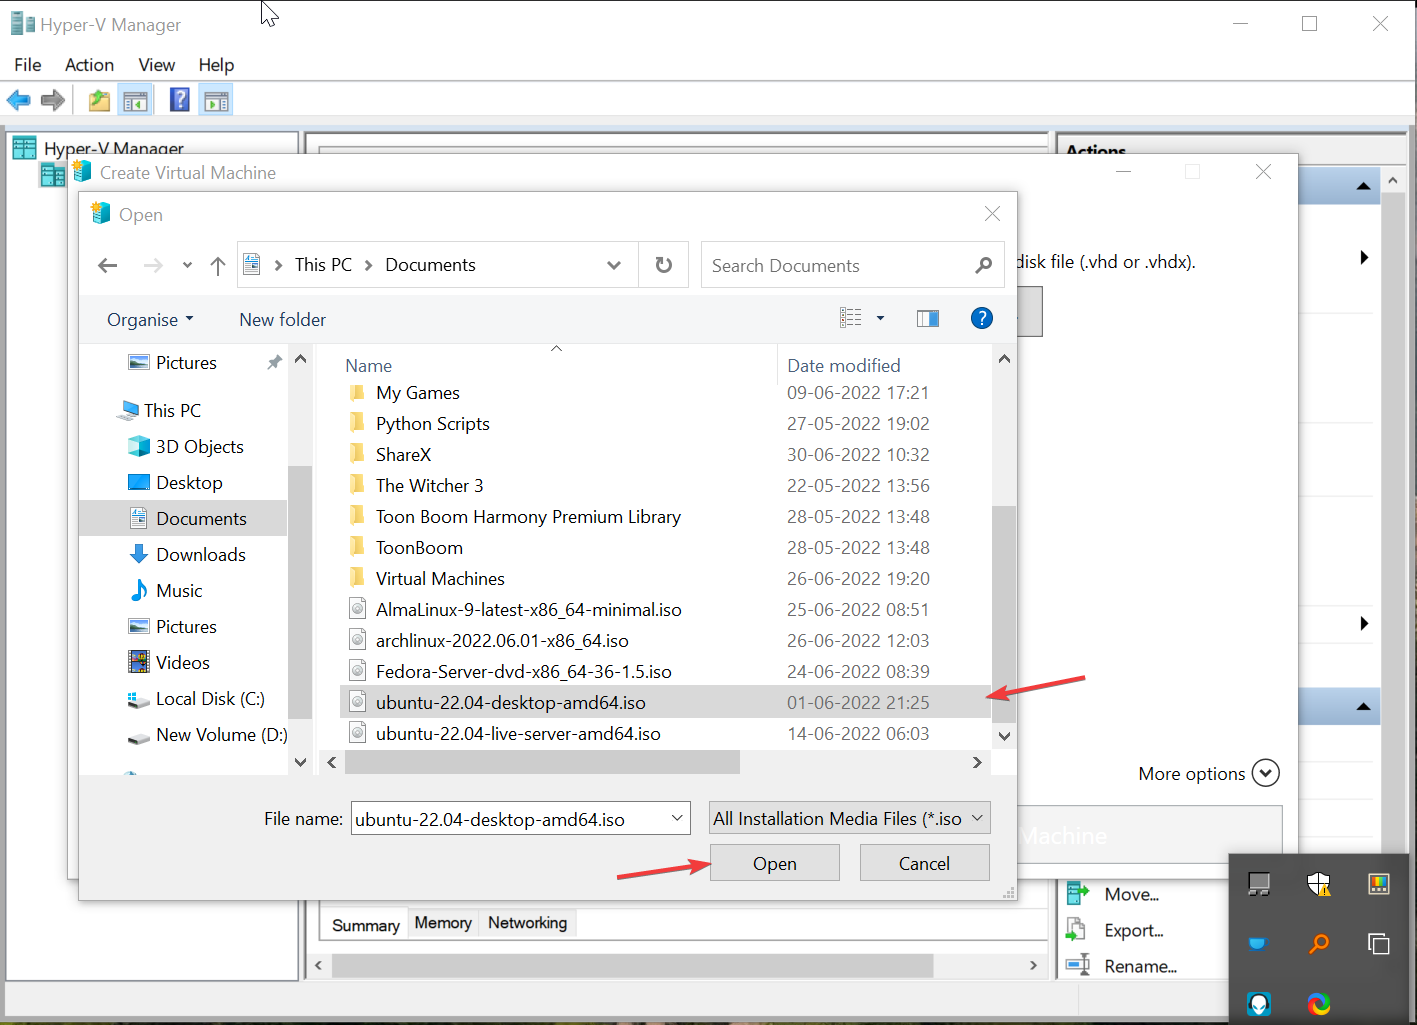
Select the ISO file location where you have downloaded the Ubuntu. Its name most probably would be ubuntu-22.04-desktop-amd64.iso:
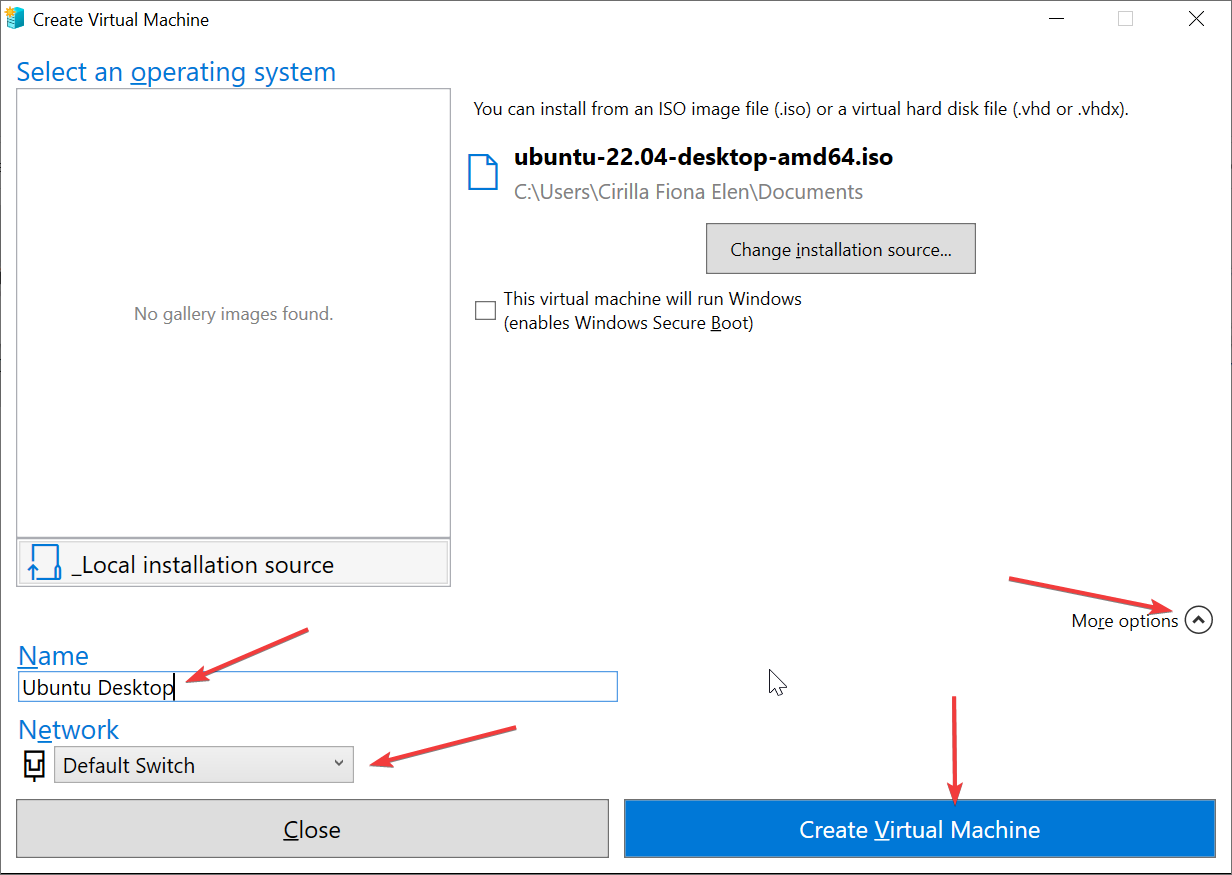
Next, you may click on Create Virtual Machine button, or select More options to configure:
Once, you select More options , you will be presented with renaming the VM to your liking(only for your reference) and also select the network controller(if you are into such stuff, for now, leave it at the default value).
Now, click on Create Virtual Machine. This will take a few moments to setup and we will be greeted with the following window:
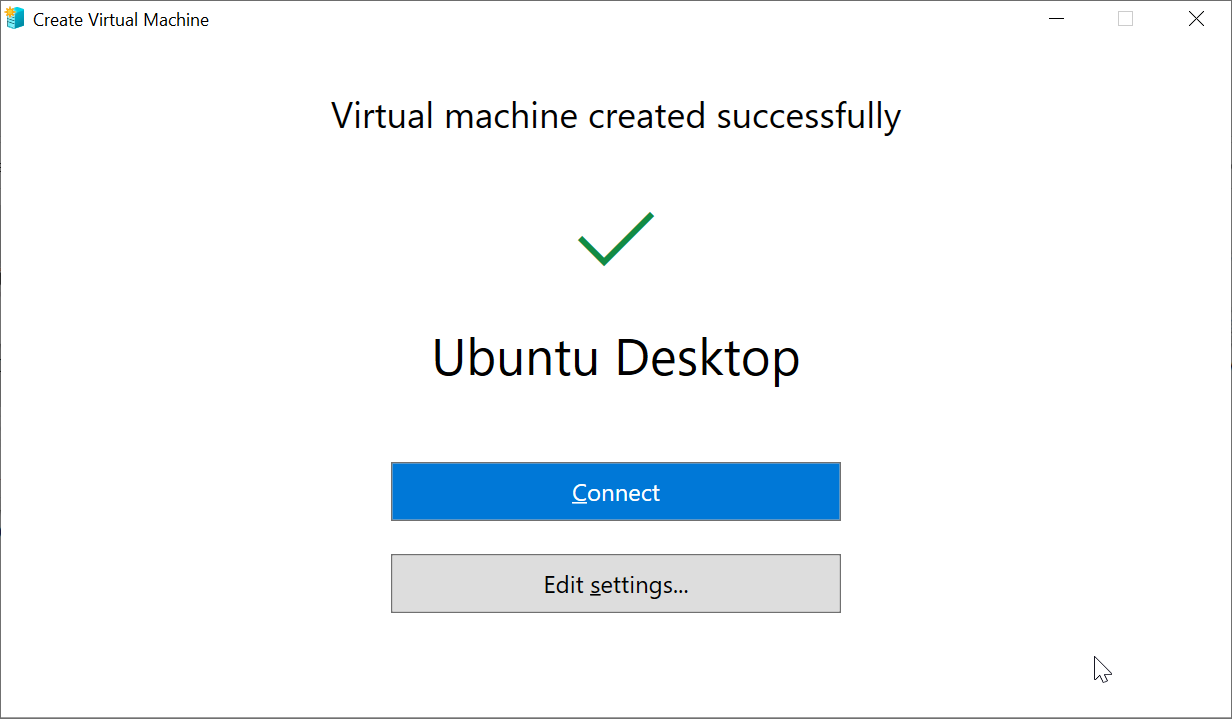
Now you can either click on Connect to boot up the VM or click Edit settings ... to configure further. I’m choosing the latter to edit some default configurations:
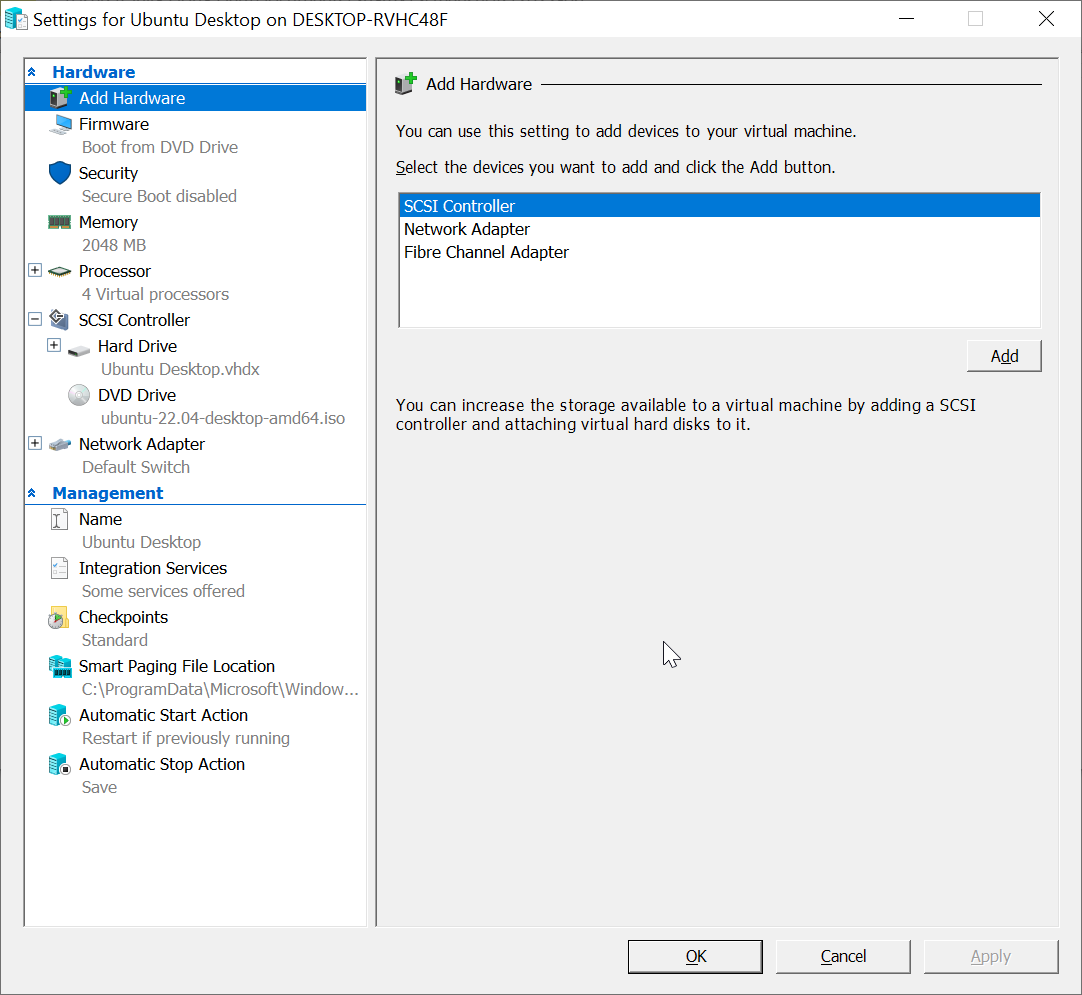
The above is the VM settings window to modify the resources to be allocated to the VM. I wish to change the Memory(RAM) and Processor(# of cores) settings to my liking. Do not overdo else you might be in trouble, Check the resources you got by doing the following:
msinfo32 is the text to type in the Run window. Make note of the Logical Processors and RAM Memory size and make sure to use at most half of whatever you have got to ensure system stability.
Here are my settings:

 to ensure stability.")
Hit Apply and OK to save the settings. Now click Connect:

Installing Ubuntu as a Virtual Machine
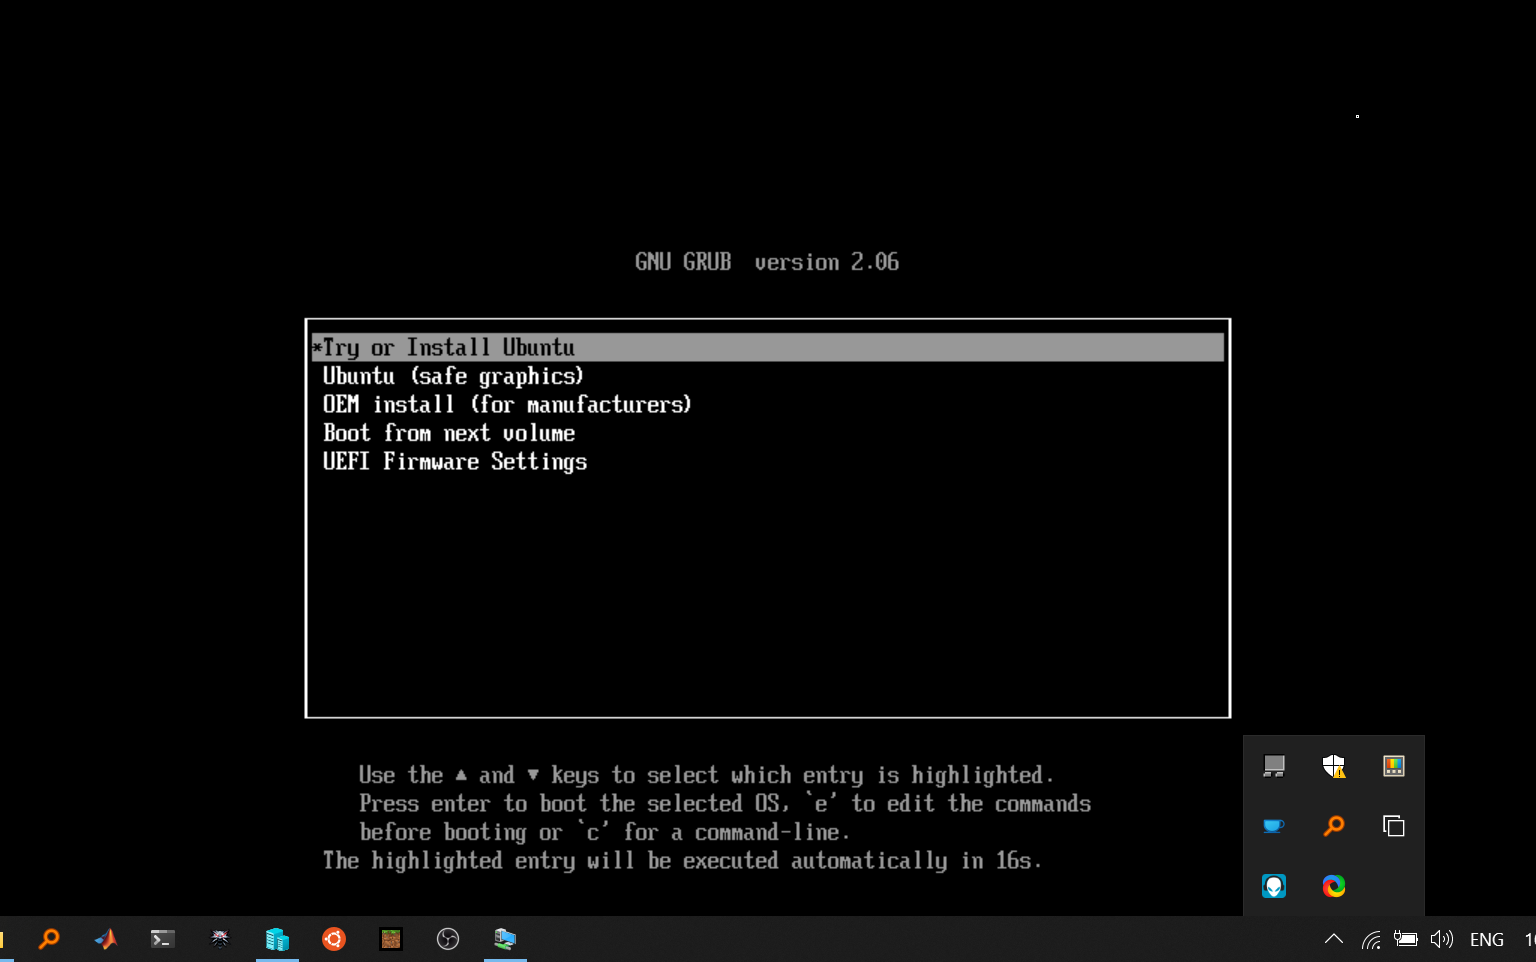
A new window will appear. Click on Start button to power on the Virtual Machine. If you are new to Linux, then this is not the end of the installation, we are booting into what is called a Live Environment, where we get to install the OS graphically. For advanced users, the steps that follow are of a standard Ubuntu installation except for the removal of the installation media(ISO) from the VM after the installation.
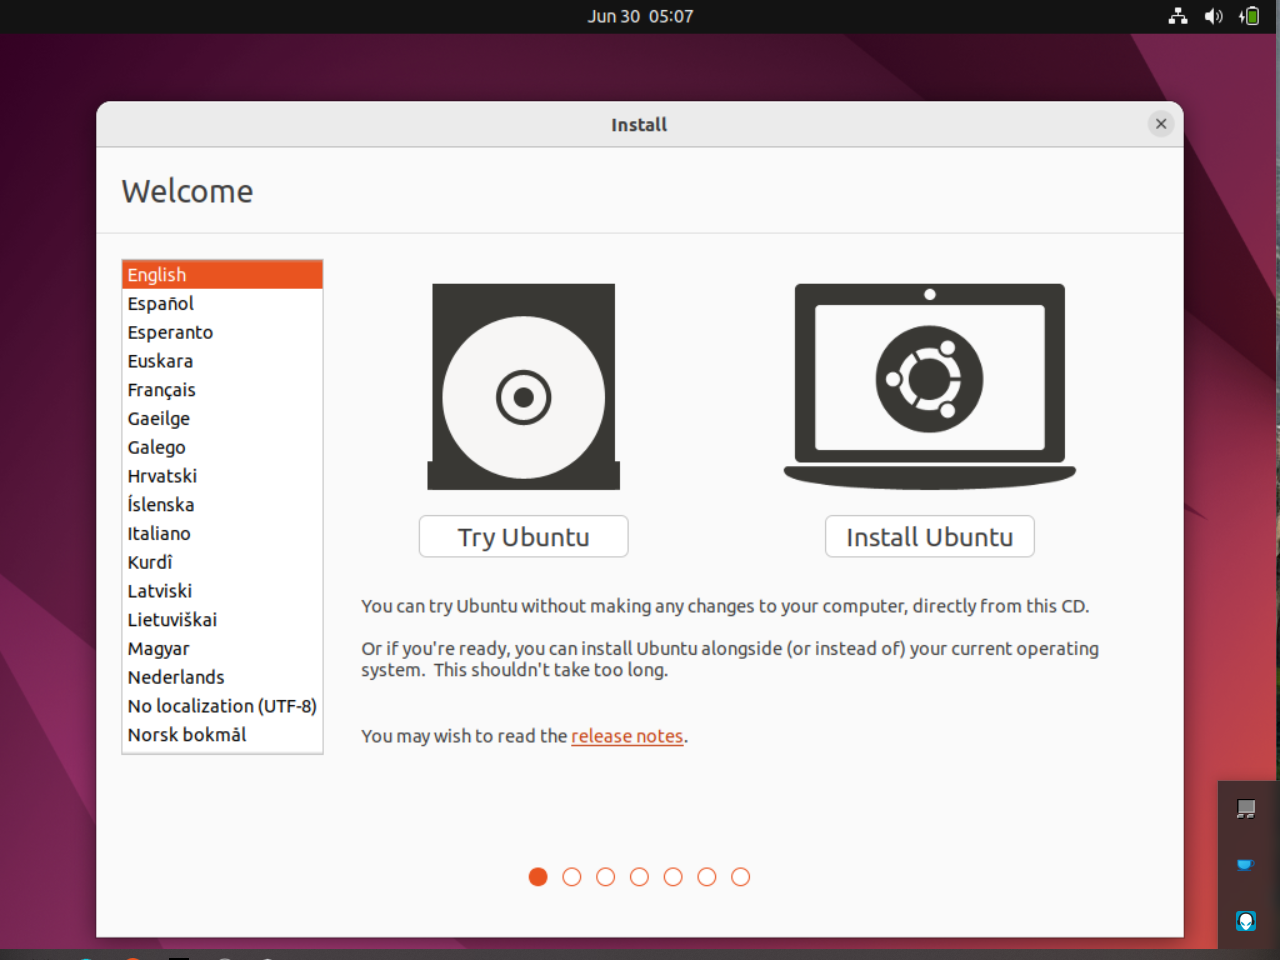
Now select Try or Install Ubuntu to launch the OS.
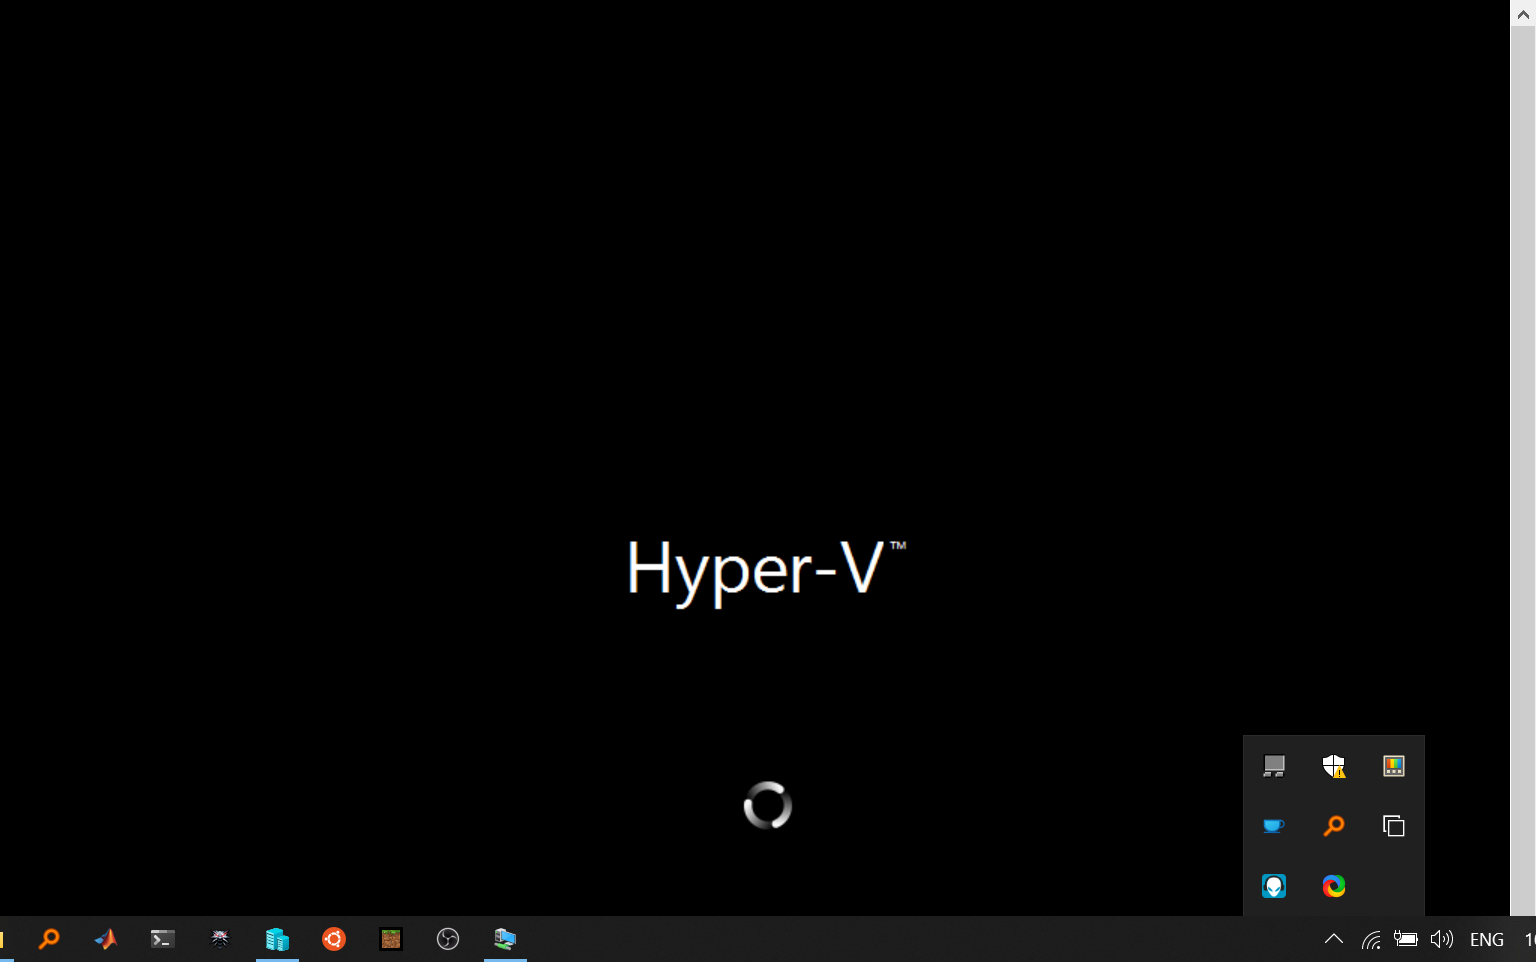
Now, the below window shows that the system is booting up. Depending on the resources allocated and your processor’s capabilities, this should take from a few seconds to couple of minutes.
Now, we are greeted with the default window of Ubuntu. You may use the OS as it is but will lose all the data changes you make. To keep the changes permanent, you have to install it fully. Select Install Ubuntu.
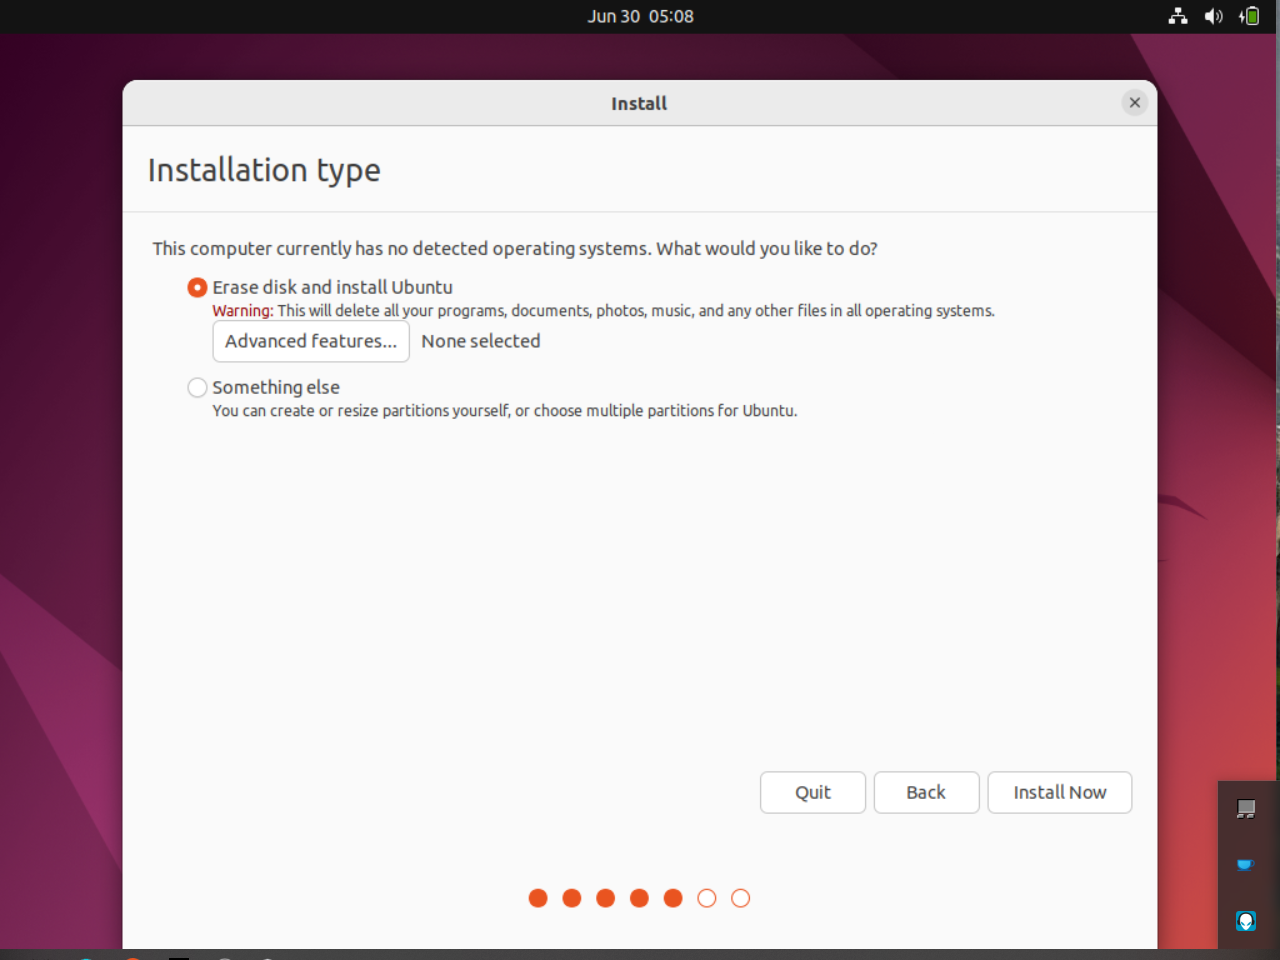
Now, the process is straightforward, you have to mostly click Continue without many optimizations. Do look out if there is something you wish to add.


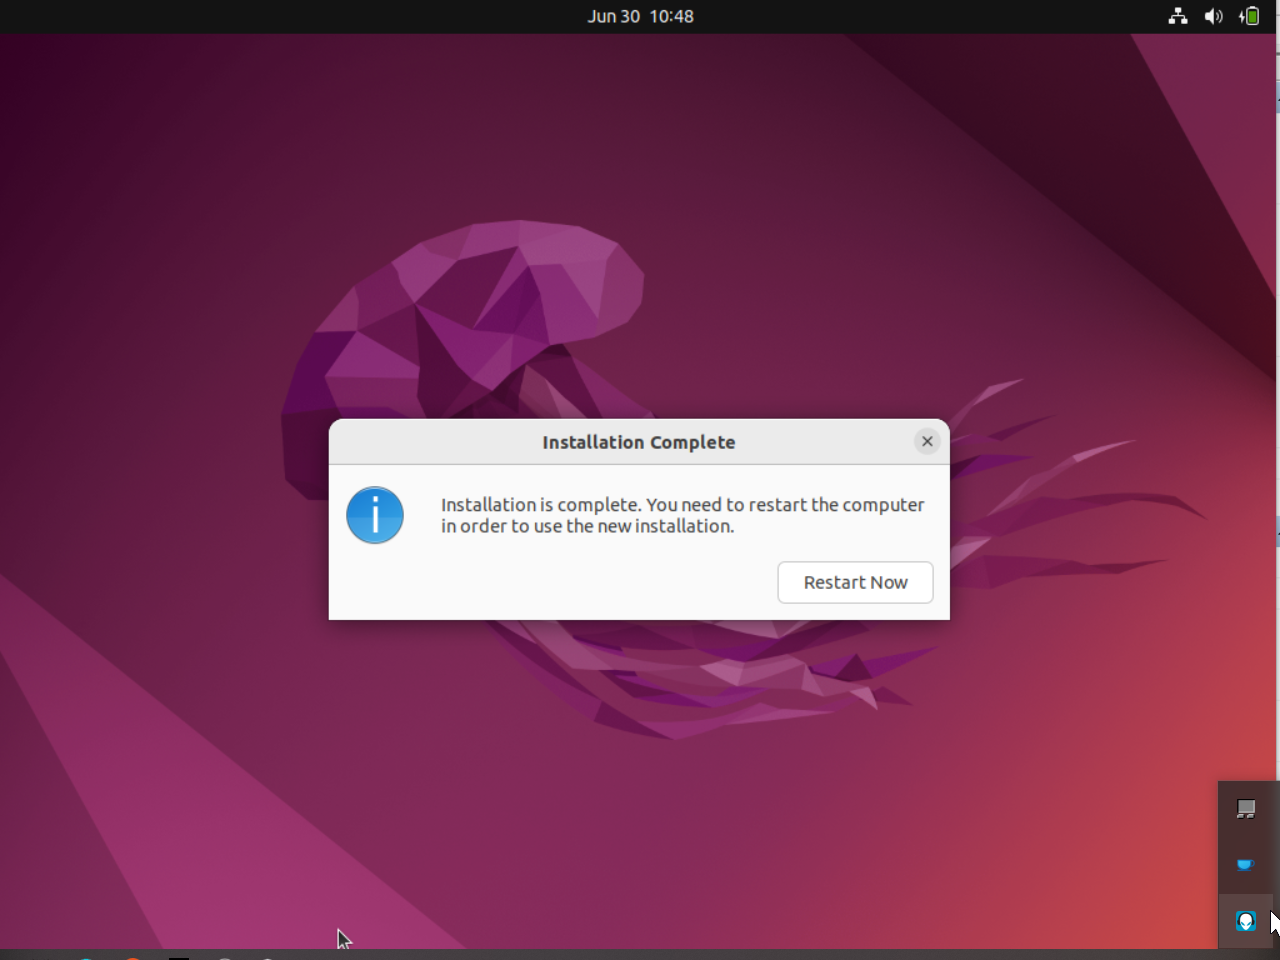
Once the installation is complete, it will ask you to Restart Now. Do not click on it yet. We have one setting left to change to finish our process.
Go to the Hyper V Manager window, and select the VM from the list:
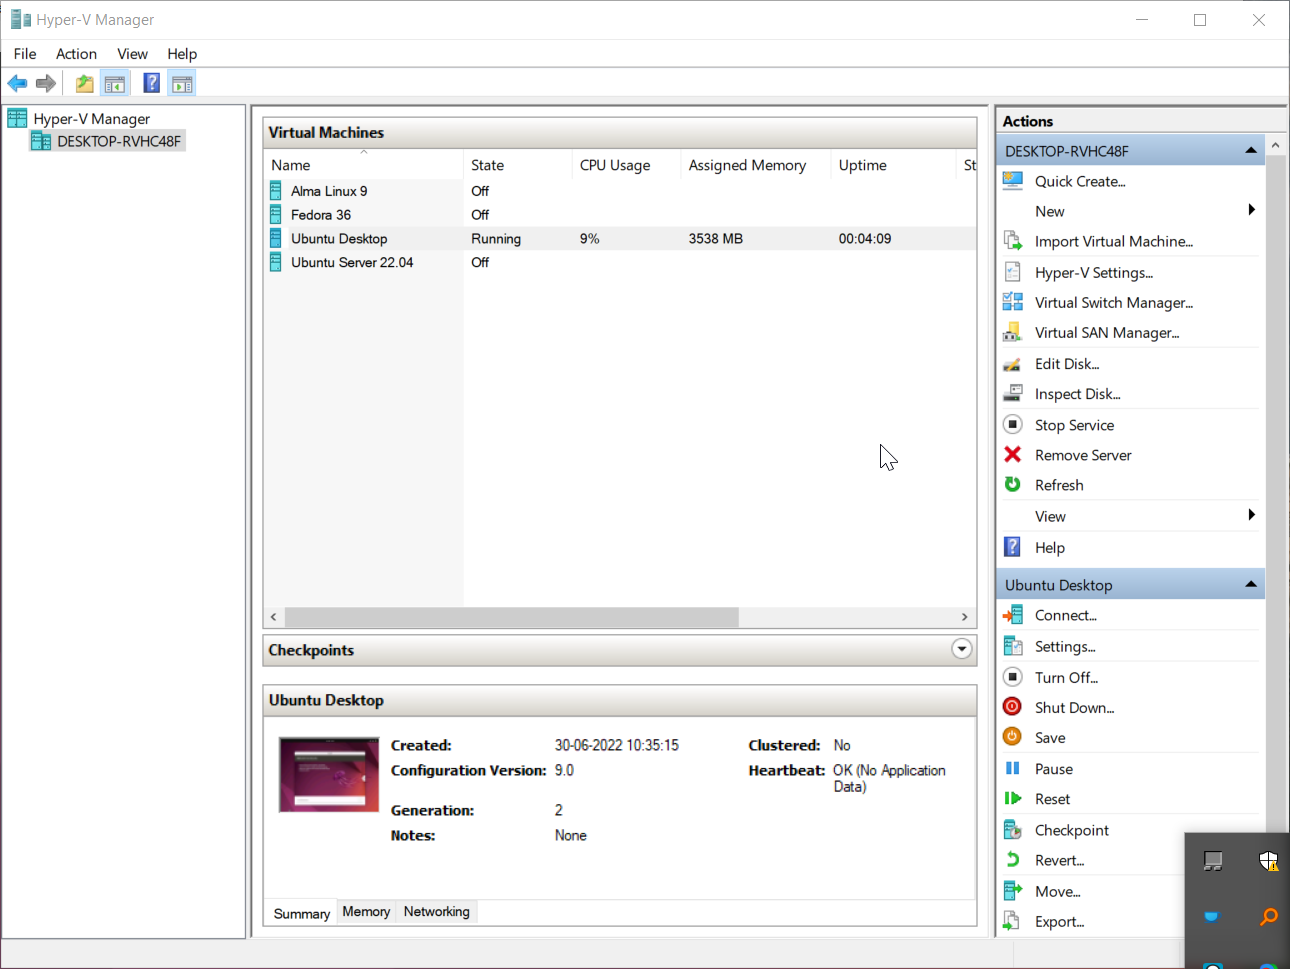
Select Settings... option present in the bottom right section, under Ubuntu Desktop. The name will differ if you change it according to the selection in the Virtual Machines section.
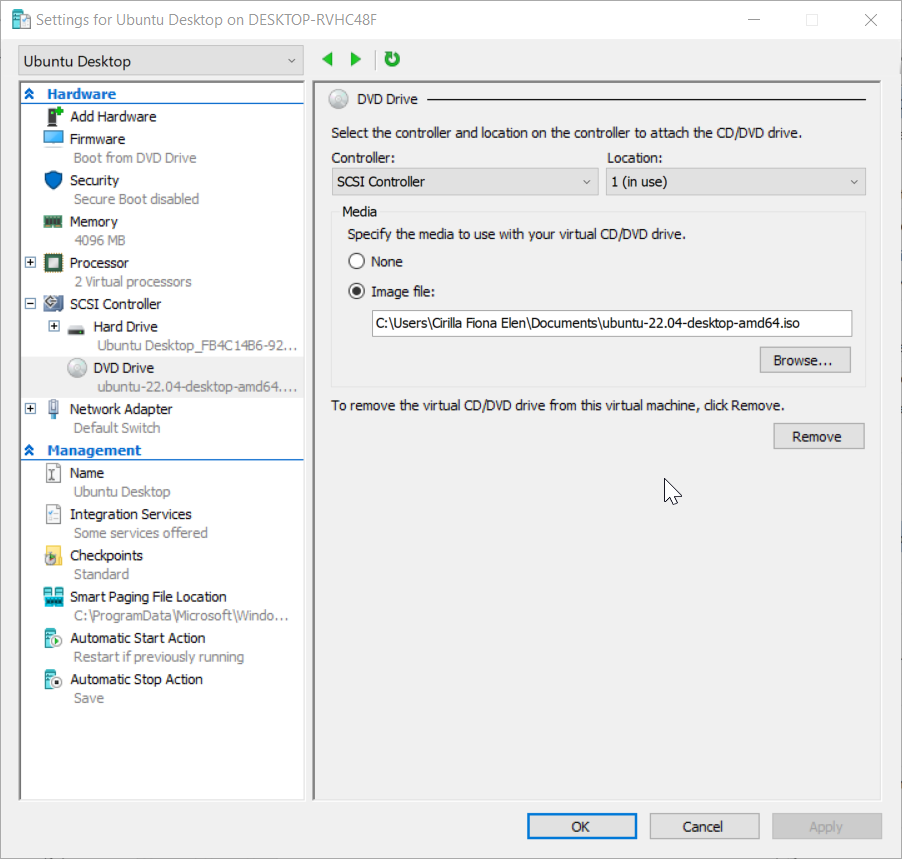
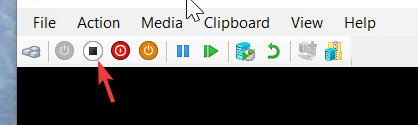
After clicking on Settings... goto SCSI Controller and select DVD Drive. Click on Remove button, hit Apply and select OK. Now, you may click on the Restart Now button and if you wait for an hour, it will still display a blank screen. Not to worry. All you have to do is, power off the VM using the button shown below:
And start it again:
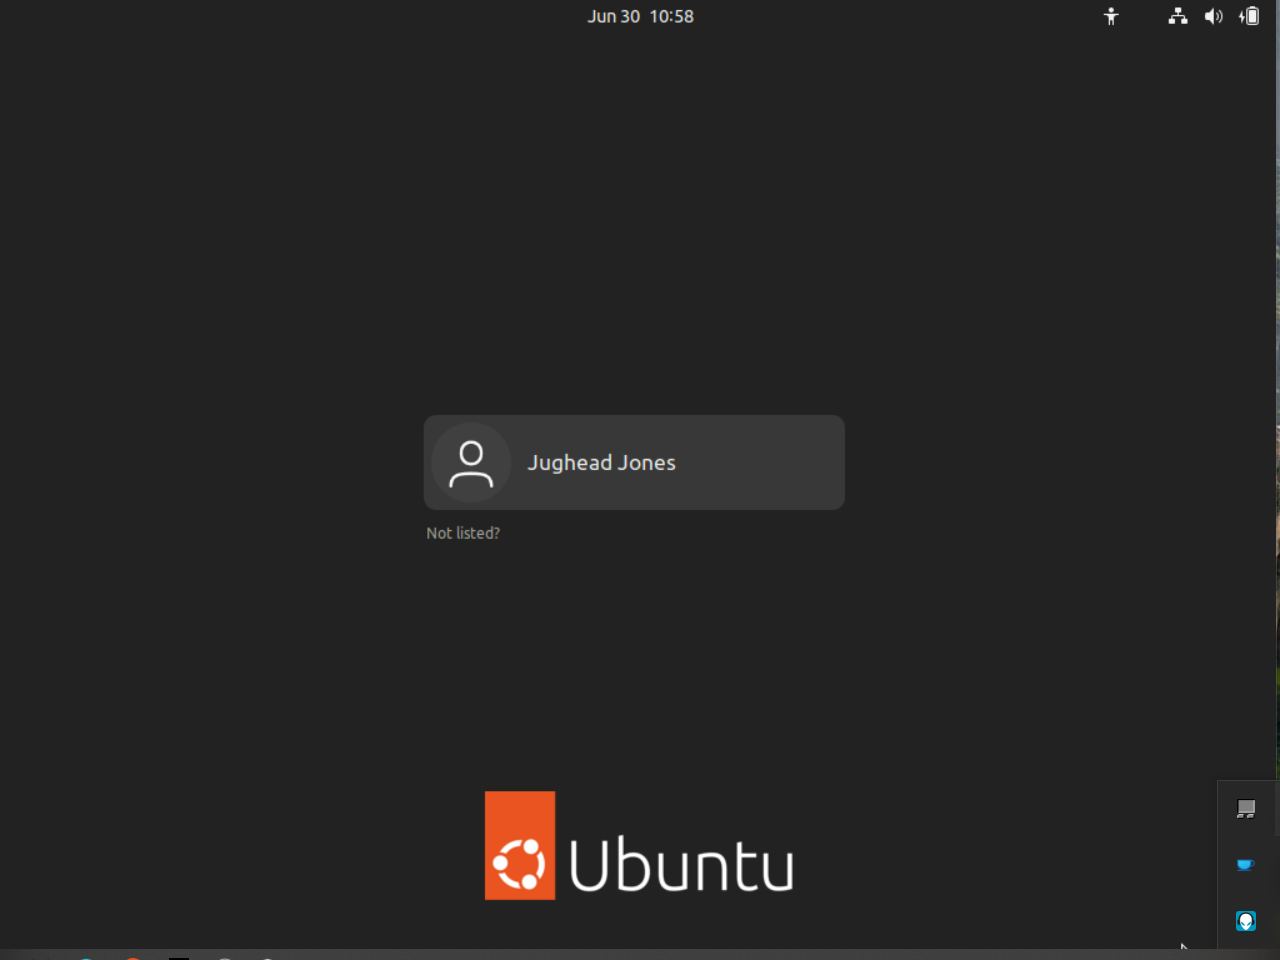
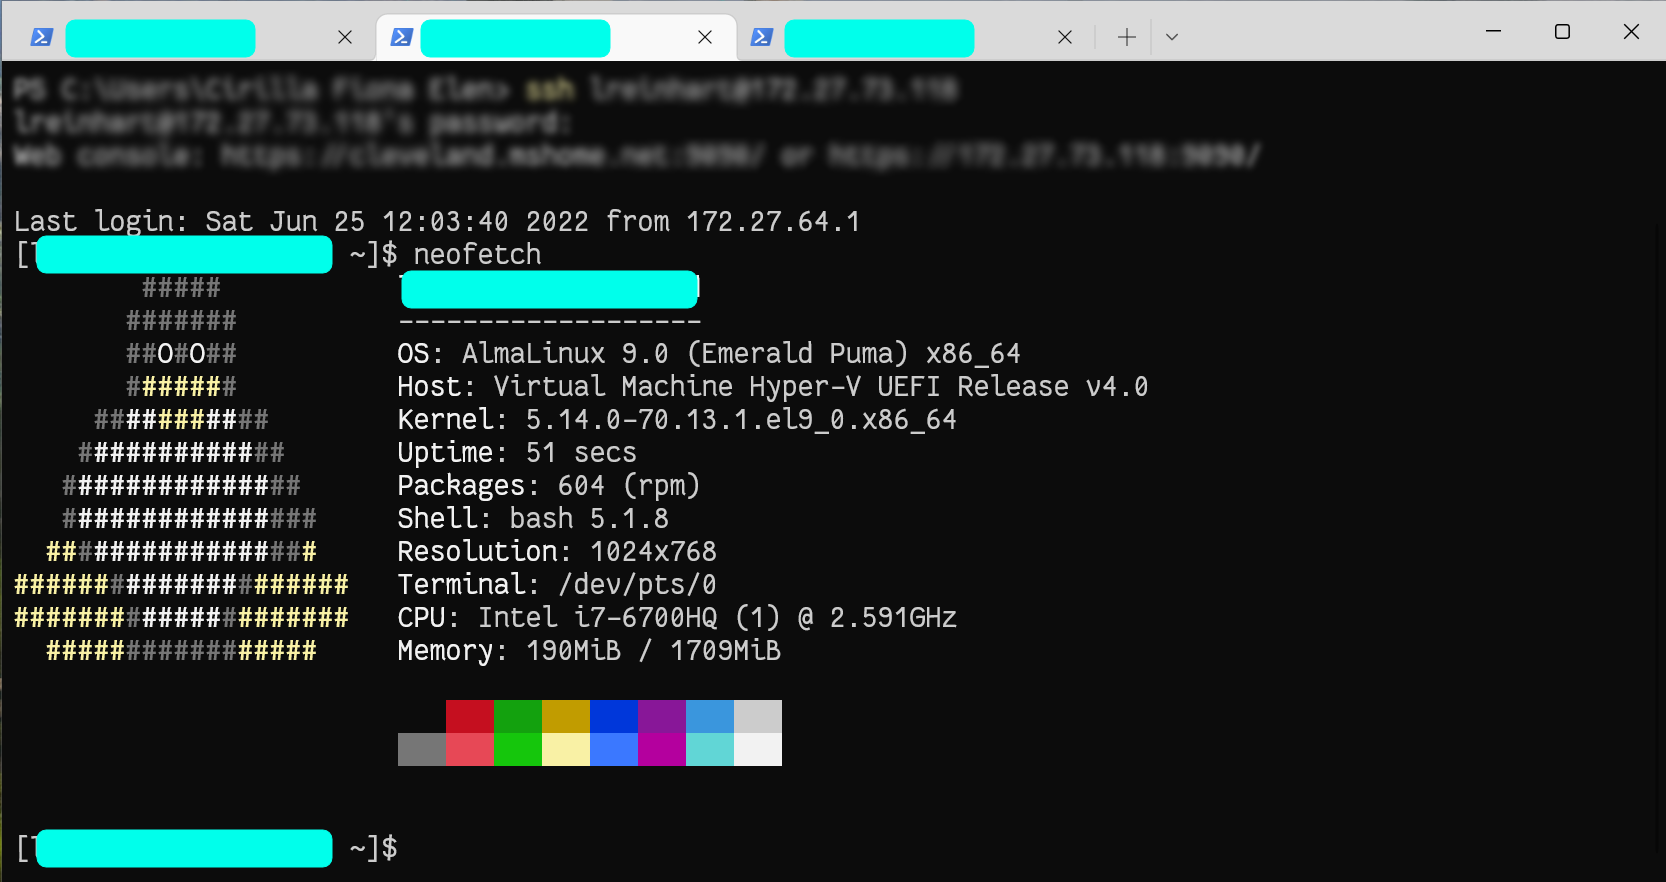
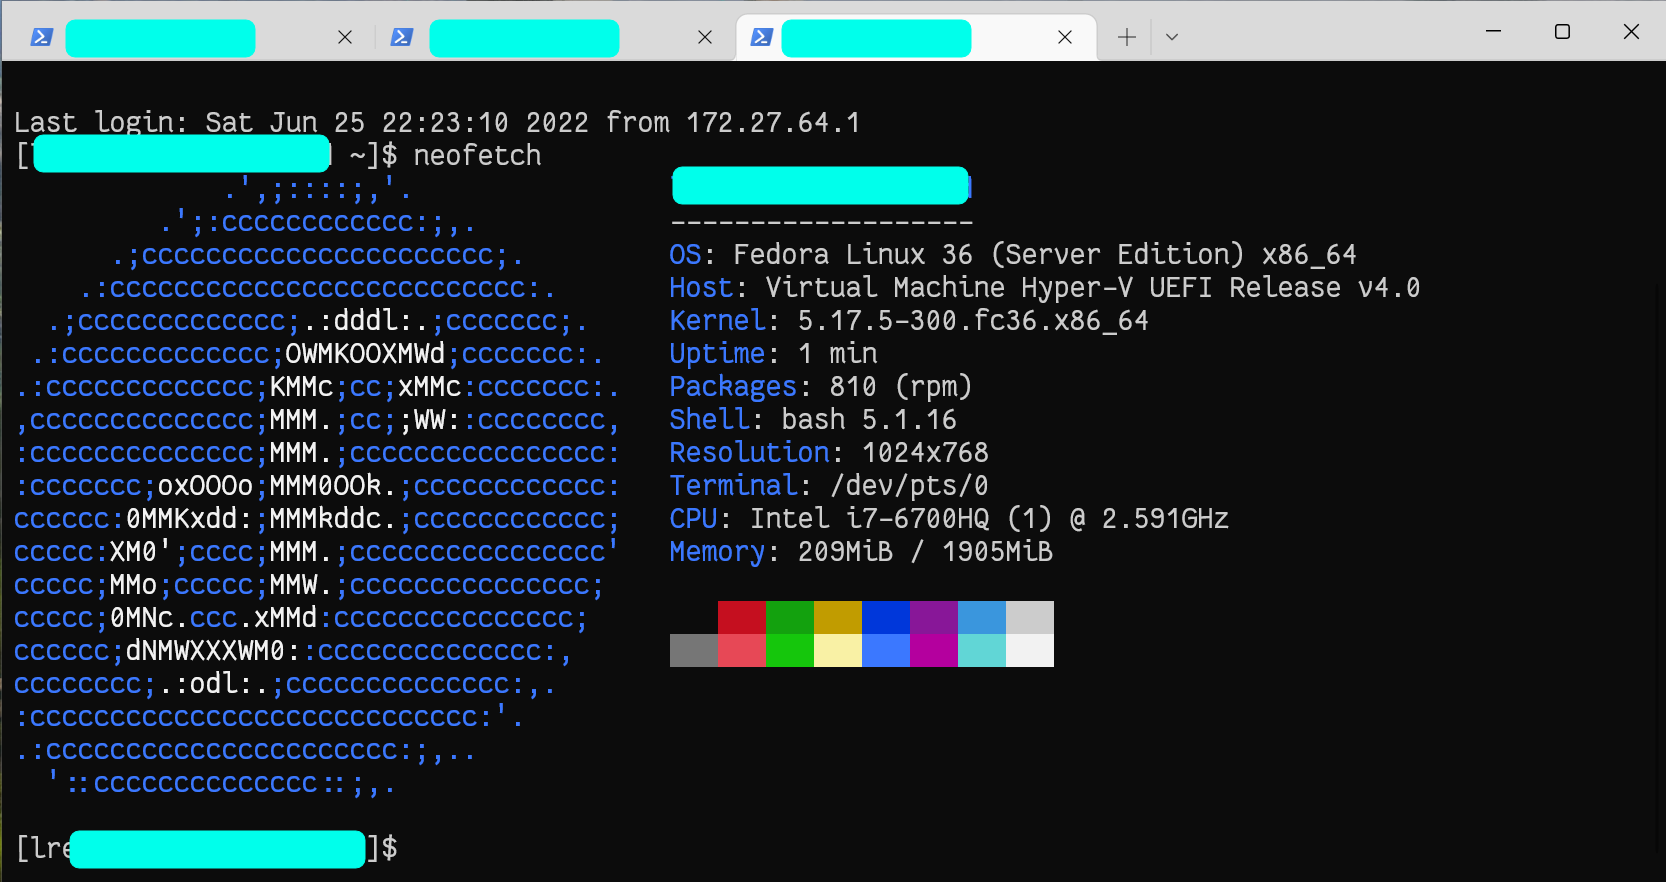
The VM will boot up and present you with a login screen. You can enter your password and login into the VM and use it as a second PC:

Now we have a fully working VM to experiment with.
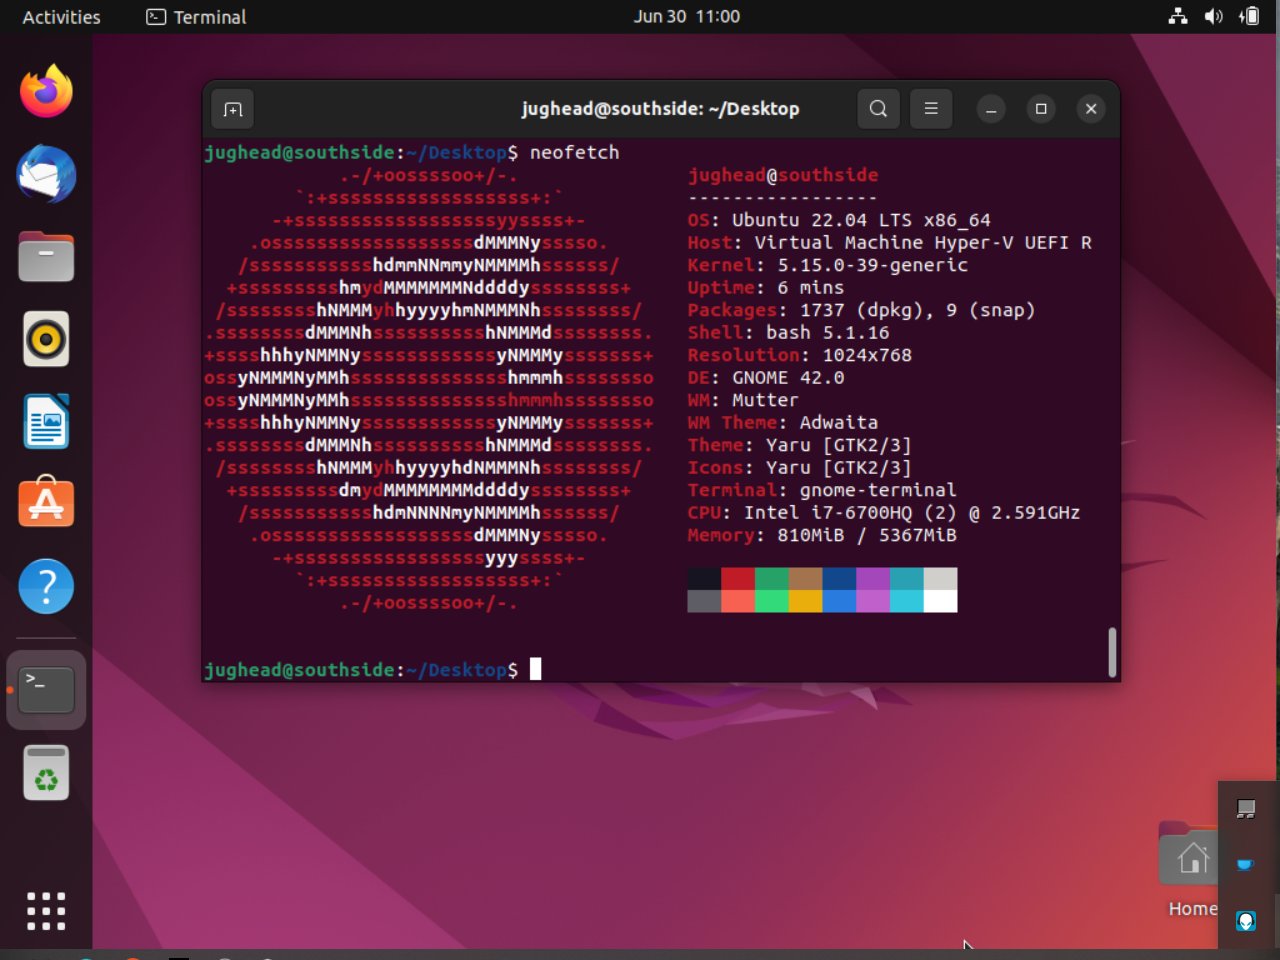
For a closer look at the specs, here is the screenshot:

Conclusion
Hyper-V has some advanced features to edit like Network and SAN. There are more features like VM migration, and HA setup in Windows Server OS. For more advanced features like PCIe passthrough and other technical topics, the first best place to look into is the Microsoft Docs and the second-best place is YouTube.